SHOP ALL OF OUR ANIMAL SHELTERS
Large Metal Shelter Specifications
- Angle iron frame creates a strong and sturdy structure (a 21' long building has over 510' of framing!)
- Corrugated steel walls are heavily galvanized, built to withstand the elements for years
- Metal building is approximately 8 feet tall and shipped in 7-foot-long sections for more economical shipping rates
- Interior walls are protected by 12-inch tall covers to help prevent damage to the inside of the walls
- Includes wood 4" x 4" skids with pull straps
- Does not include anchor stakes, but they are recommended
- Additional strength and stability are provided by 'spreader bars' that stand at the front and rear of the building
- This all-around shelter is great for animals in large machinery!
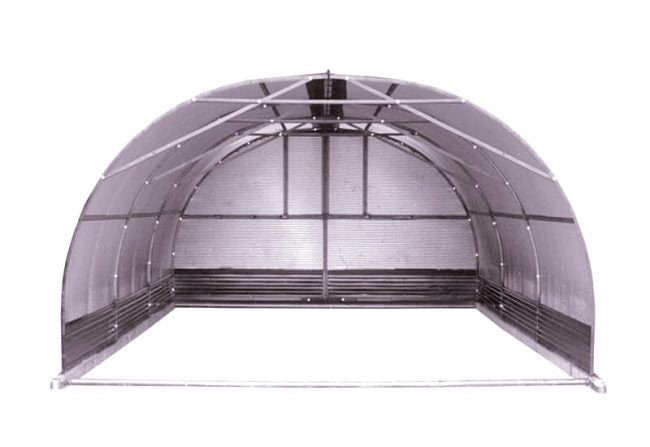
Pictures of the Metal Animal Shelter
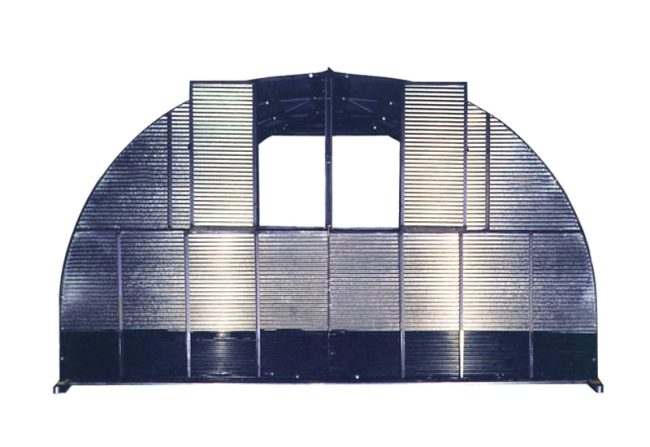
Front View holds a full-size truck nicely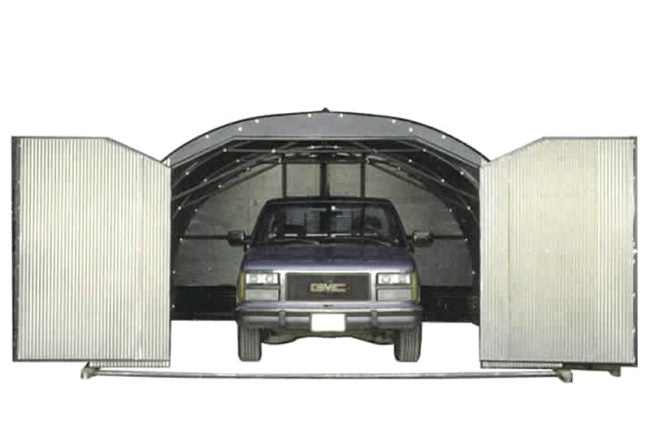
Optional front with swinging doors with an opening 9' 2" wide. Doors are not intended for livestock use.
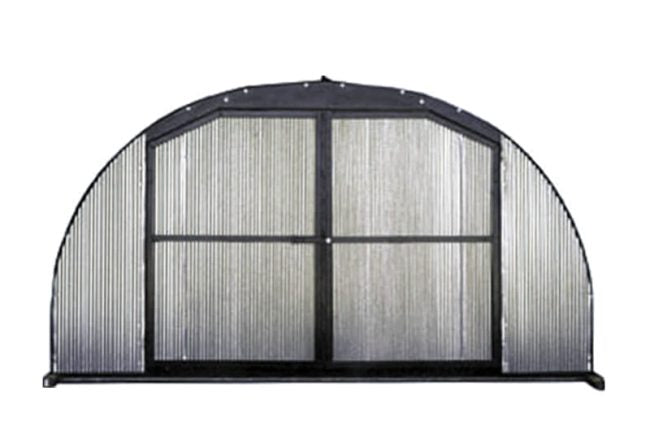
Optional Front to Close Top Half
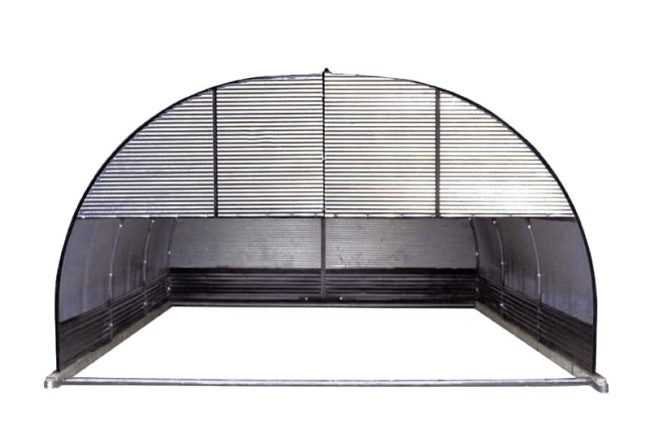
Rear with Back Vent Open
Shelter Size Comparisons

Pictures of the Animal Shelter Assembly Process
The metal animal shelter is best done with two people. The long wall sections and the lifting of the curved roof and wall surfaces can be difficult for a single person trying to do it themselves. Make your assembly as quick and easy as possible with a friend and follow the helpful guidelines below.
The Building Supports
The metal supports keep the frame and structure sturdy and are necessary for a solid building. Be sure you have them all as shown before beginning the assembly. 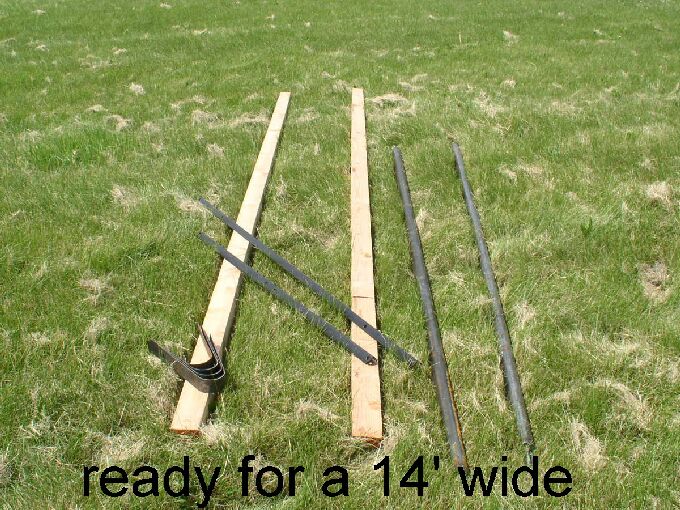
The Roof and Wall Sections
These two large sections are the outer walls and roof of the shelter. For easier installation, lay them out as shown in the area where you intend to put the building together. 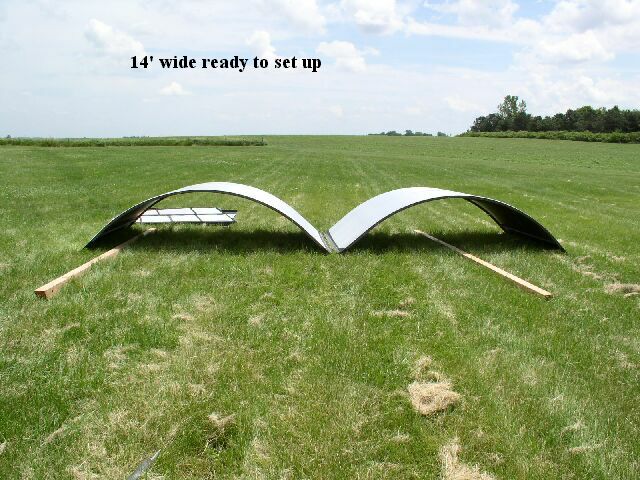
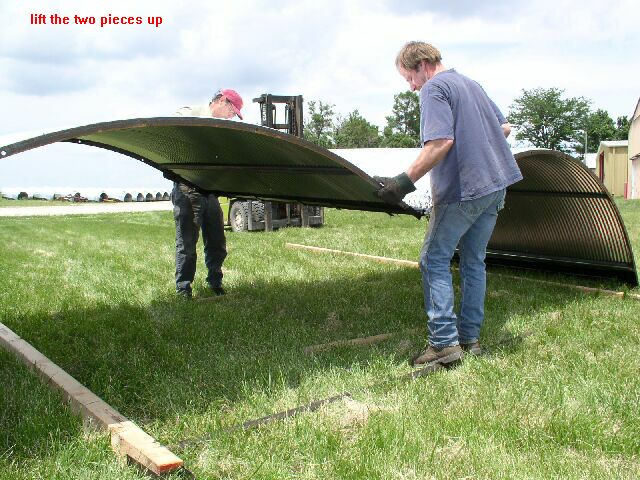
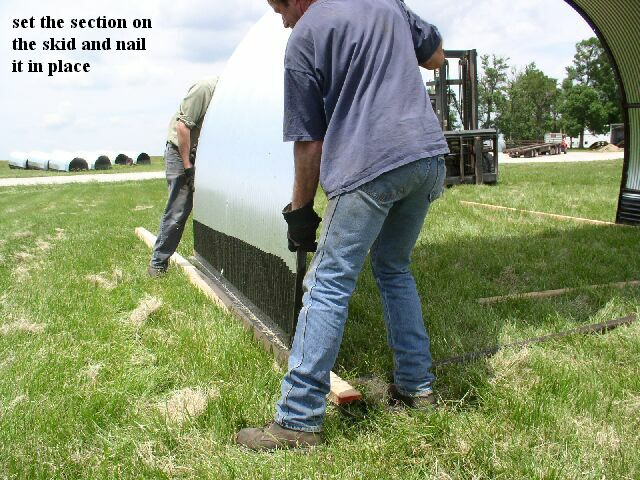
Lifting the Connected Sections
With your partner, lift the sections in the middle and attach the bottom of the walls to the shelter skid as shown.
Connecting the Back Wall Sections
Once the bottoms of the walls are secured to the runners, you can begin attaching the back wall. This is best done by doing one half of the wall at a time. If you were to connect to the two back wall sections first, it would be much more cumbersome and difficult to attach the wall as a single section. 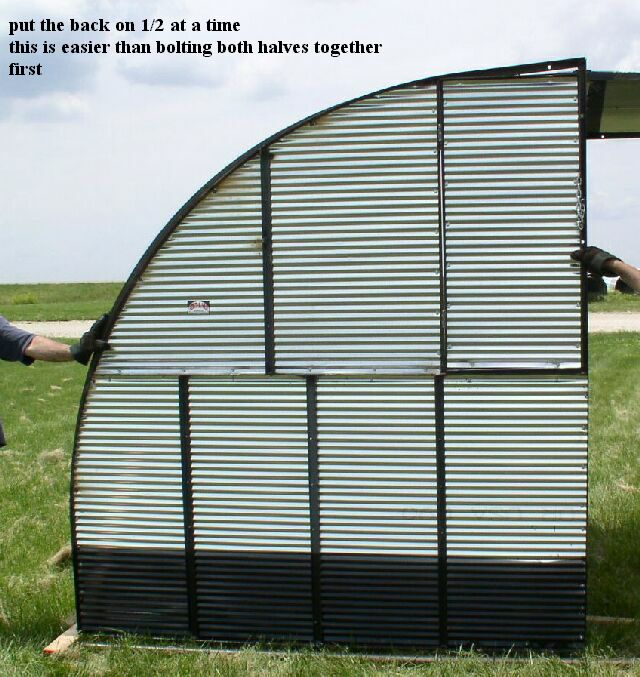
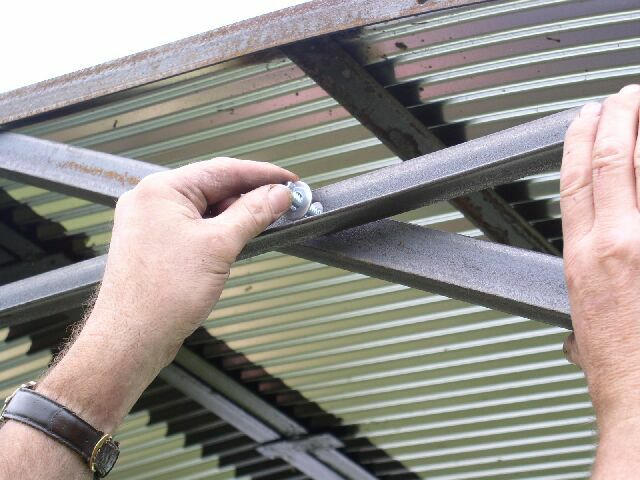
Connecting the Ceiling Braces
The roof bracing is critically important to ensure the building is able to withstand snow loads, winds, and other structurally disrupting forces that could impact its integrity. These connections are easy to make and will ensure it maintains its shape and remains strong through its lifetime. Simply align the holes and connect the bolts through the angle iron supports.


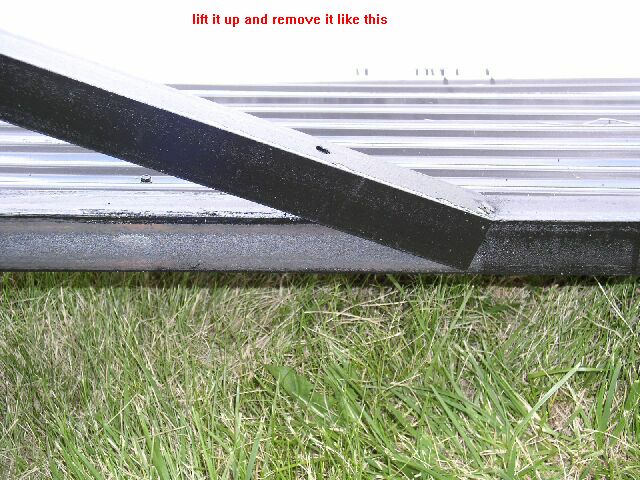
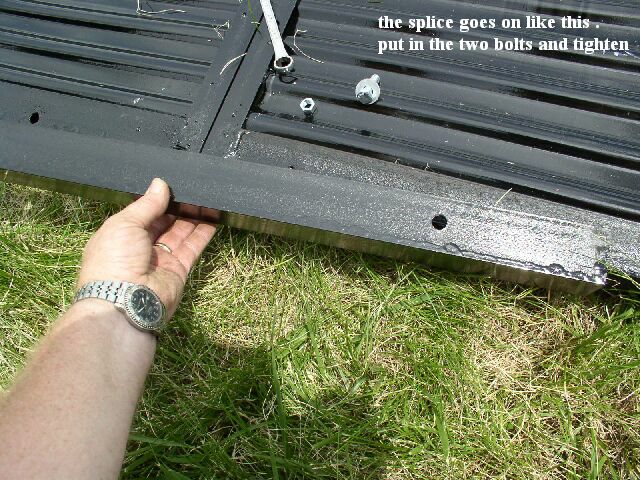
Connecting The Back Wall Sections
To complete the back section, use the splicing as shown below.

Finished Shelter